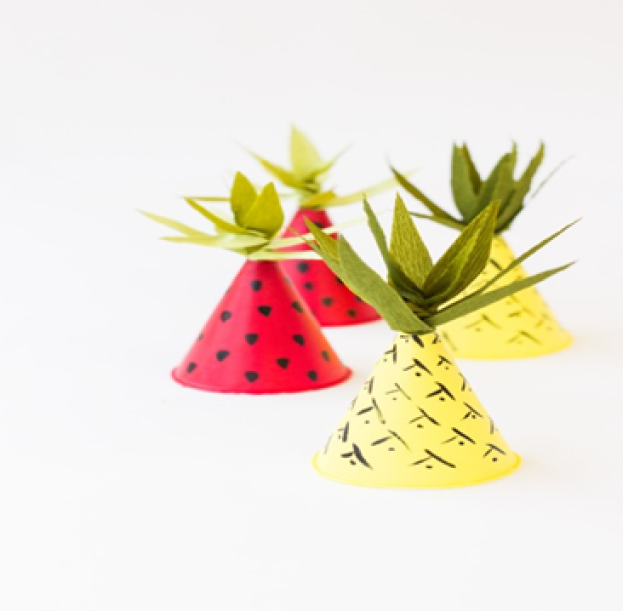
DIY Fruit-Inspired Mini Party Hats
Craft Paint in Red, Yellow and Black
Paintbrushes
Green Crepe Paper
Scissors
Tape
Elastic or Ribbon
Awl (Optional)
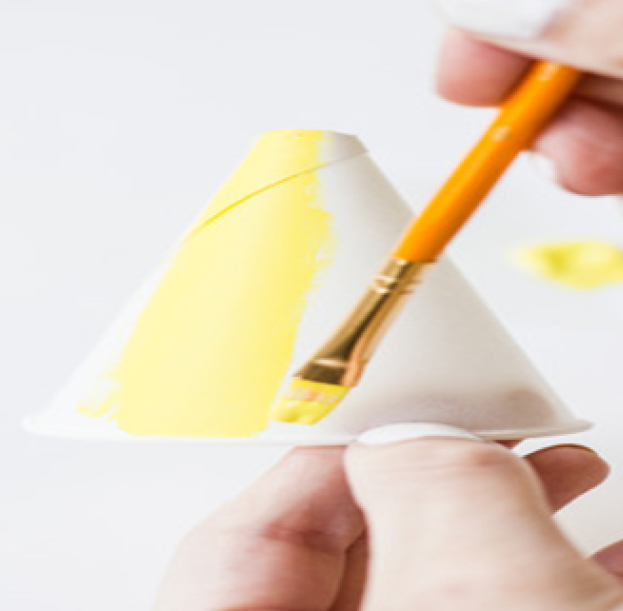
First things first, snip the top of your paper cone off, creating an opening for the leaves. Then paint your cones the color of your choice and let dry. Be sure to paint the rim of the cone, too!
To make the strawberry, use a tiny paint brush and black paint and paint upside down raindrop shops randomly all over the cone. For the pineapple, use the tiny brush and black paint to paint a few dots on the cone. Then over each dot make a rough triangle shape to mimic the texture of the fruit. Work you way around the cone and up as you go. The triangle shapes should get smaller as you move upward.
While these dry, make your leaves! For the strawberry’s leaves, you’ll need a piece of green crepe paper that’s about 8.5″ by 4″. For the pineapple leaves, start with a piece of crepe that is about 8.5″ by 5″.
Fold up your crepe paper so you have a 1/2″ wide section. Cut one end into a point to form the leaf shape, starting about 3/4 of the way down the paper.
Unfold and then roll up your section as tightly as possible. Secure the bottom with a small piece of tape. Carefully pull each leaf out from the center.
For the strawberry leaves, you’ll want to pull the outer leaves out as far as you can so they are almost “horizontal.” For the pineapple leaves, just pull each leaf out slightly so they are more upright. Slide the base of the leaves into the top of the hat. Depending on how snug they fit, you can opt to add a piece of tape inside the hat to secure them, or they may just stay put on their own!
To finish your hats, you’ll need to add elastic or ribbon for wearing them! Either tape a piece of ribbon onto each side of the hat or poke a hole in each side with an awl, slip a piece of elastic or ribbon through and secure with a knot.
Other games
Big or Small?
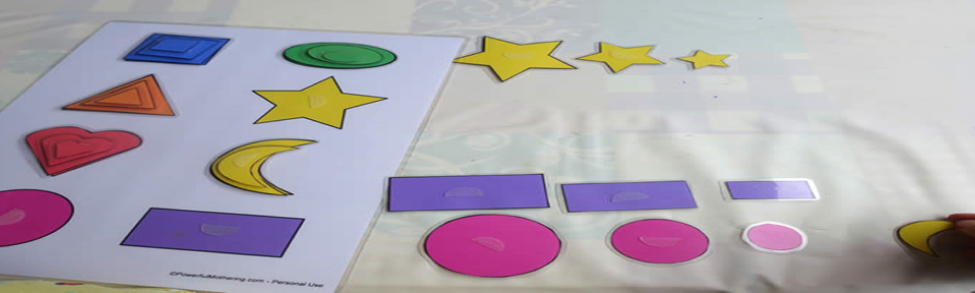
PRINTABLE SHAPE MATCHING AND SIZE SORTING ACTIVITY
20.05.2022
Big or Small?
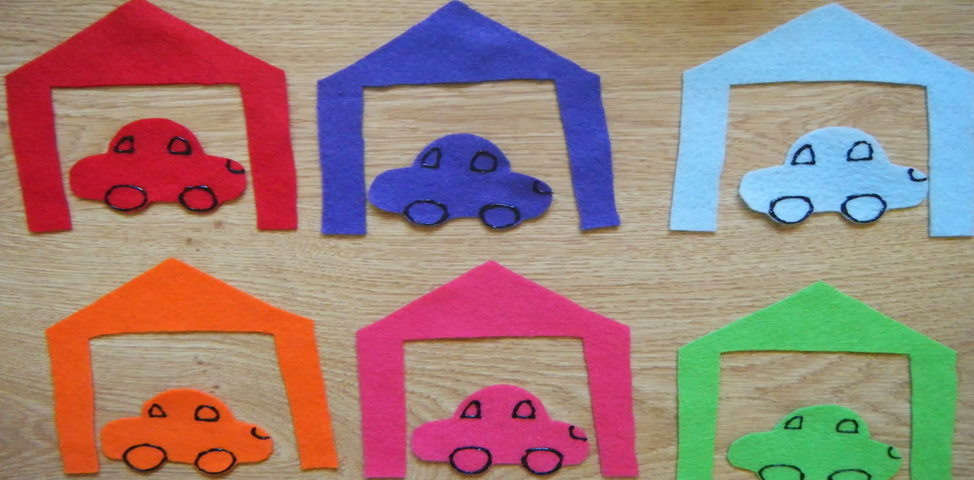
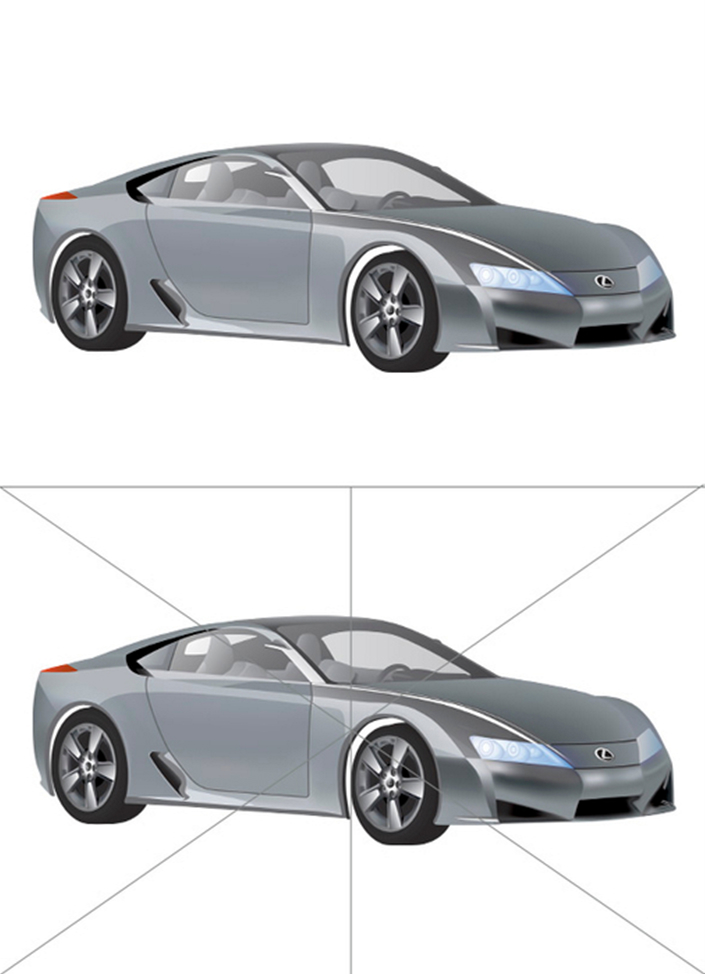
Car Matching
20.05.2022
Big or Small?
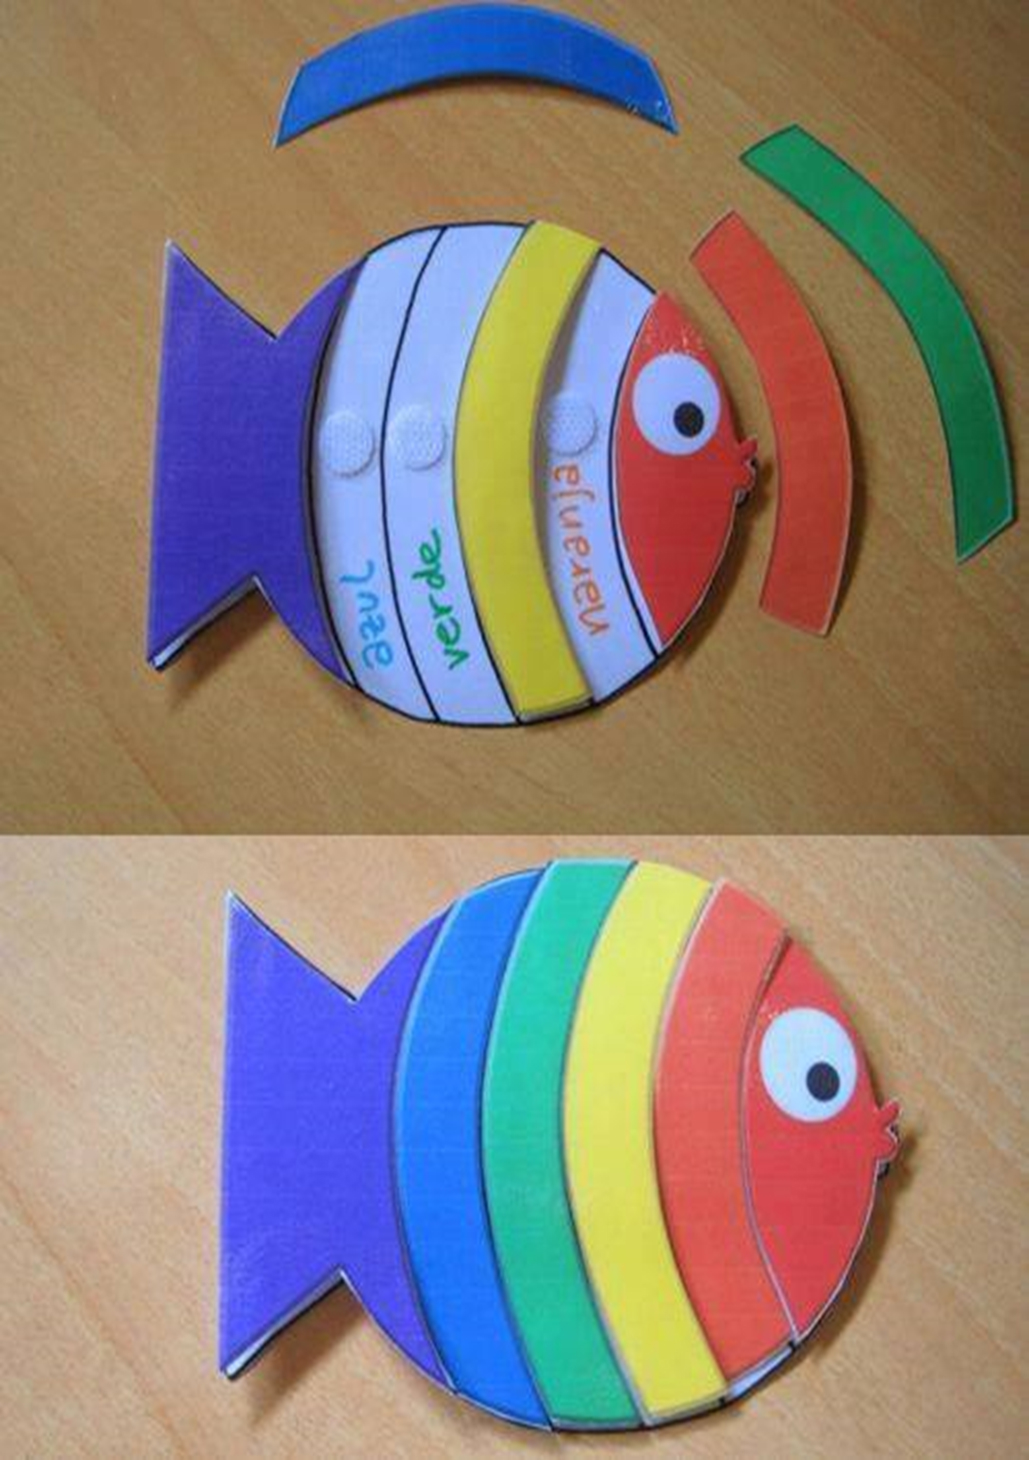
The Three-Stripe Fish
20.05.2022
Big or Small?
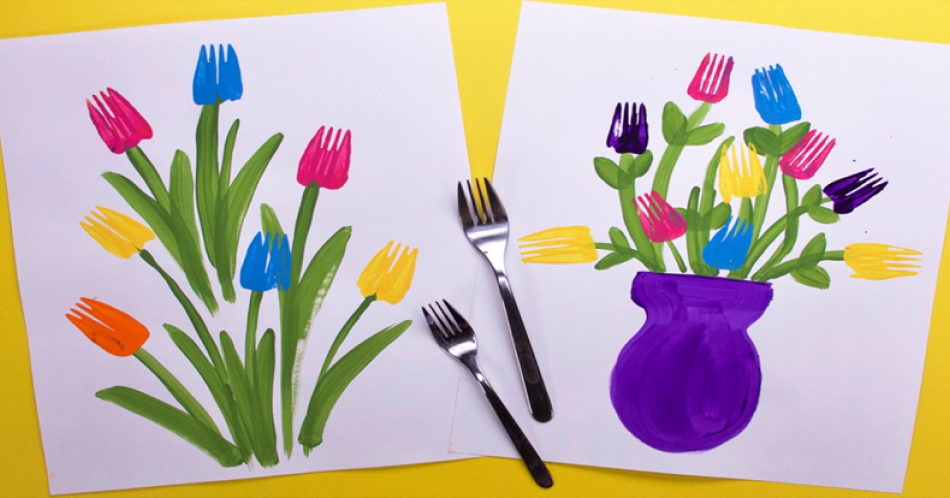
FORK FLOWERS
20.05.2022

Big or Small?
A family tree
20.05.2022
Big or Small?
“Wonderful bag”
20.05.2022
Big or Small?
“Fruit Fetch”
20.05.2022
Big or Small?
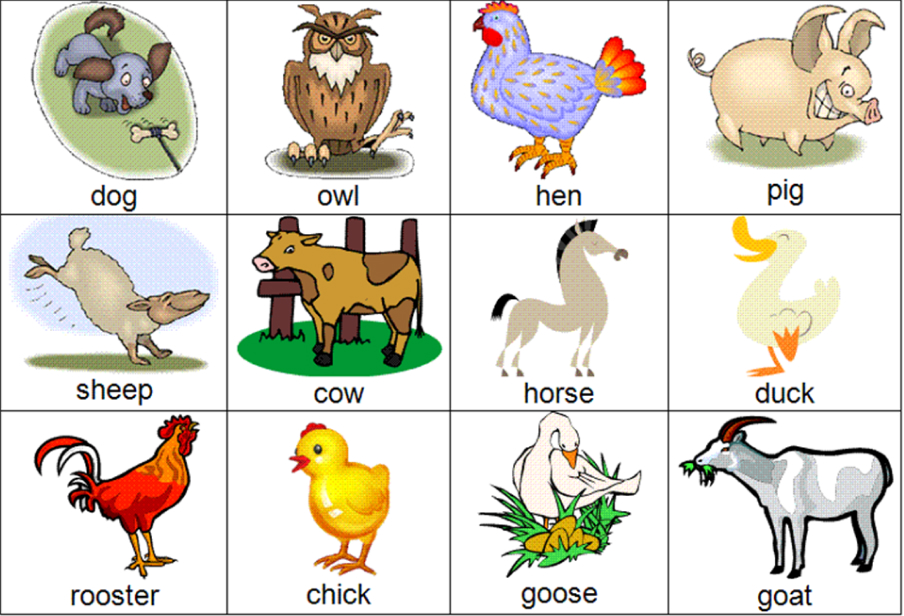
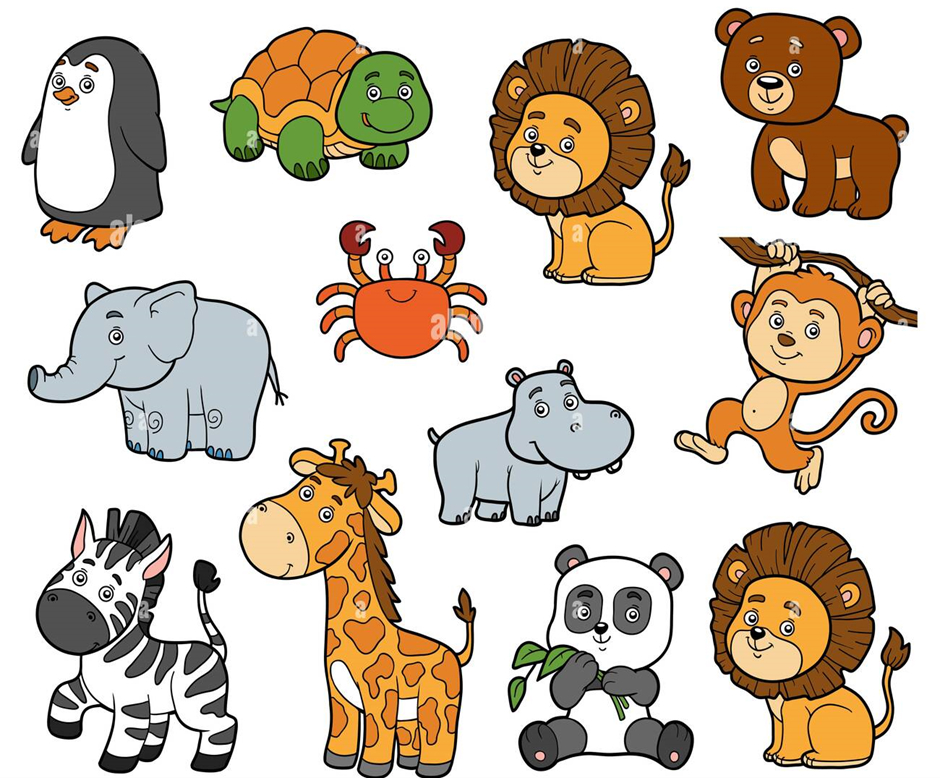
“Find the lost animal”
20.05.2022
Big or Small?
“Pantomime”
20.05.2022
Big or Small?
Puzzles
20.05.2022

Big or Small?
“Get confused”
20.05.2022
Big or Small?
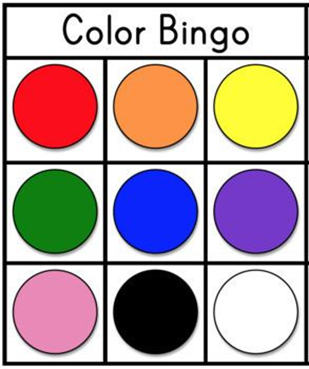
Color Bingo
20.05.2022
Big or Small?
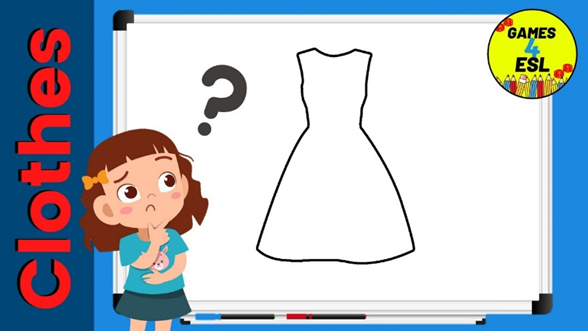
“Clothing guessing”
20.05.2022
Big or Small?
“What`s missing?”
20.05.2022

Big or Small?
To differentiate basic colors in the nature and to word
20.05.2022
Big or Small?
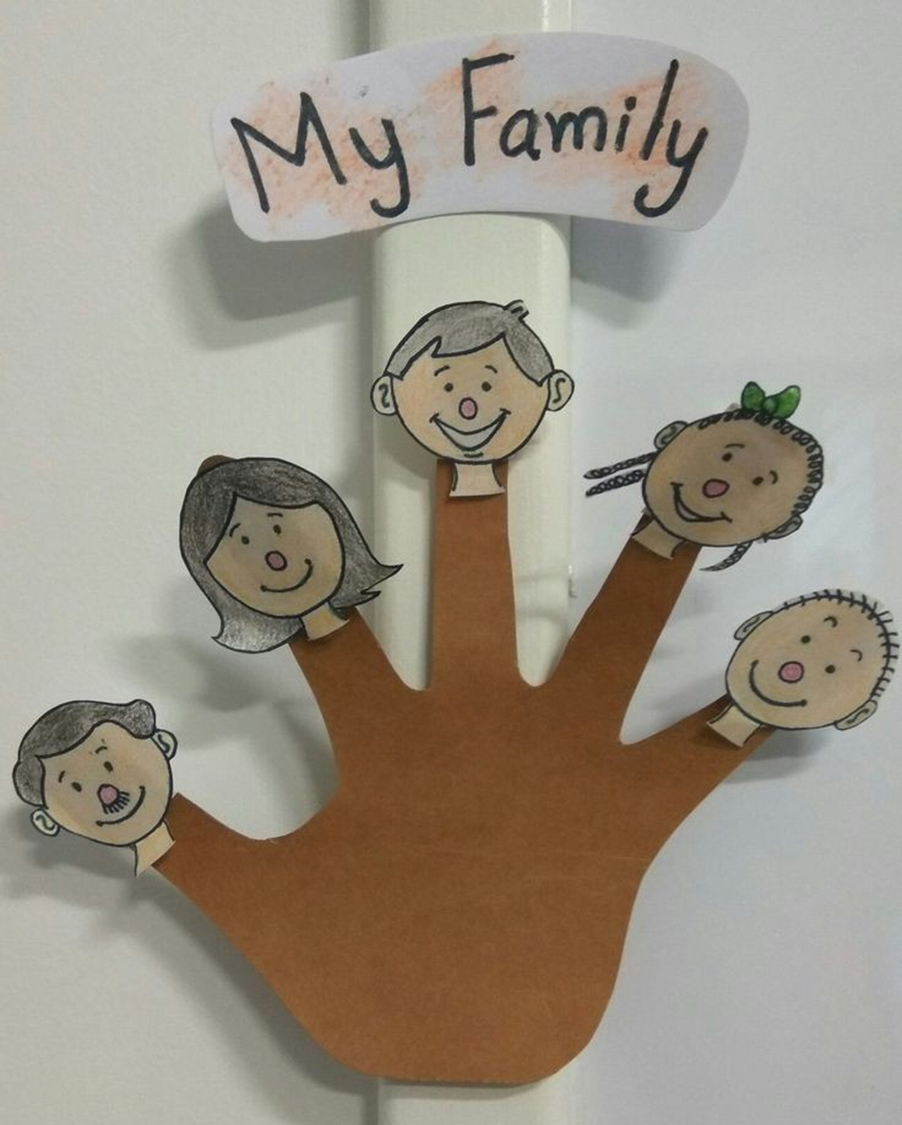
''My family''
20.05.2022
Big or Small?
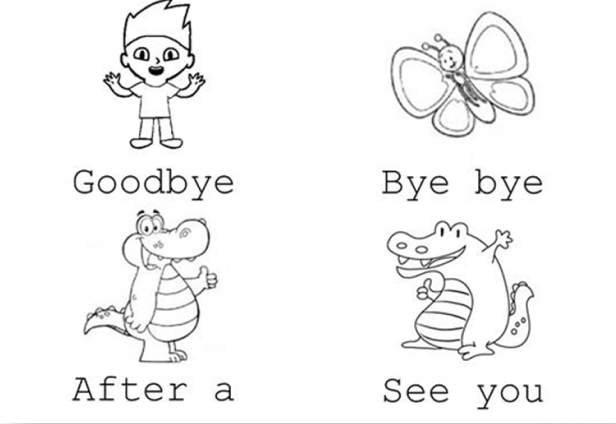
Цrite the word “Good bye”
20.05.2022
Big or Small?
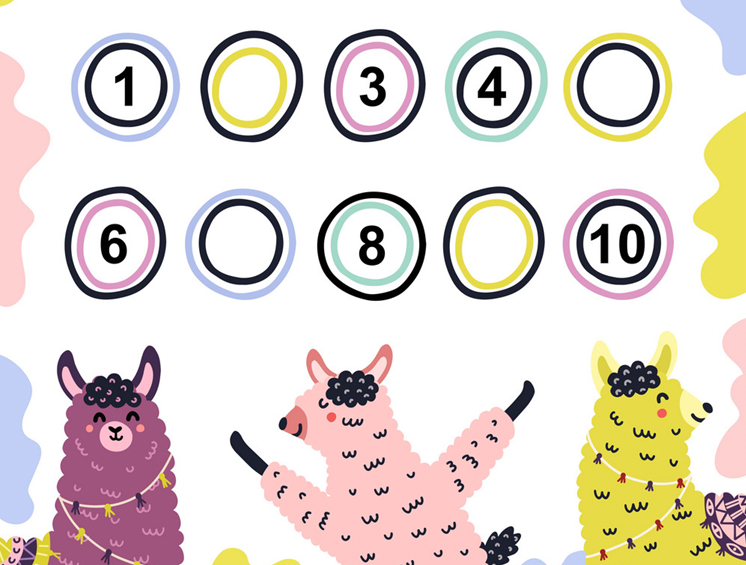
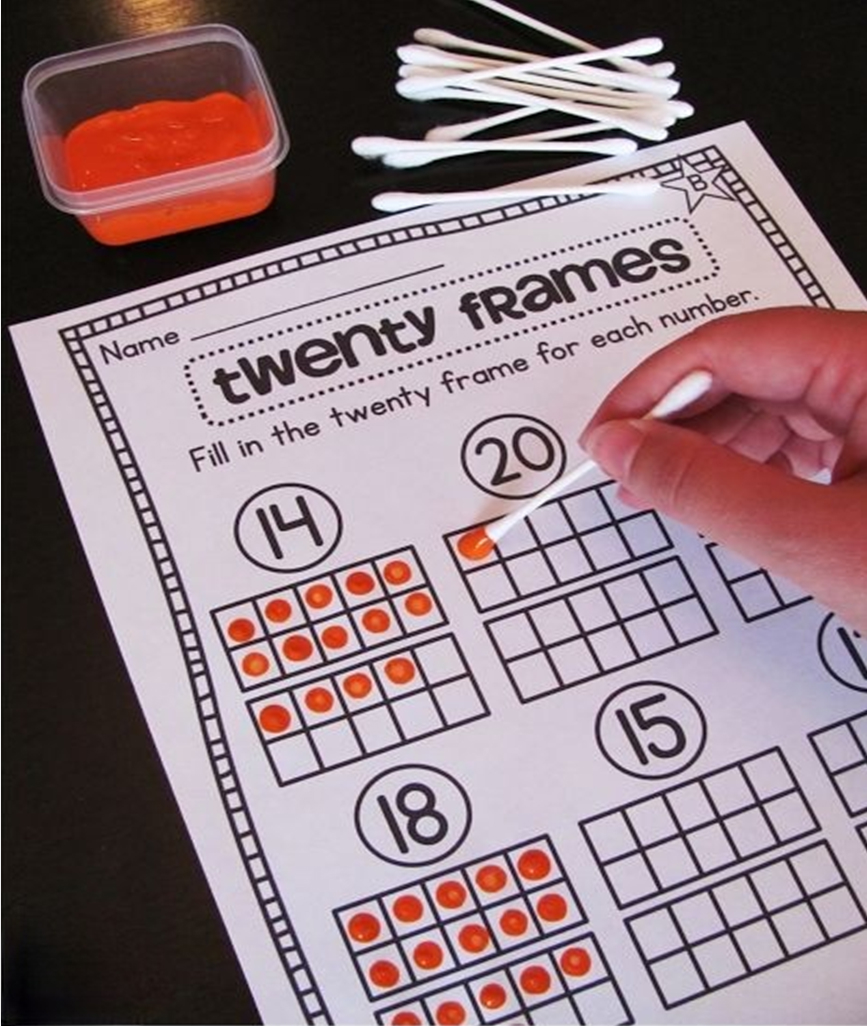
Twenty frames
20.05.2022
Big or Small?
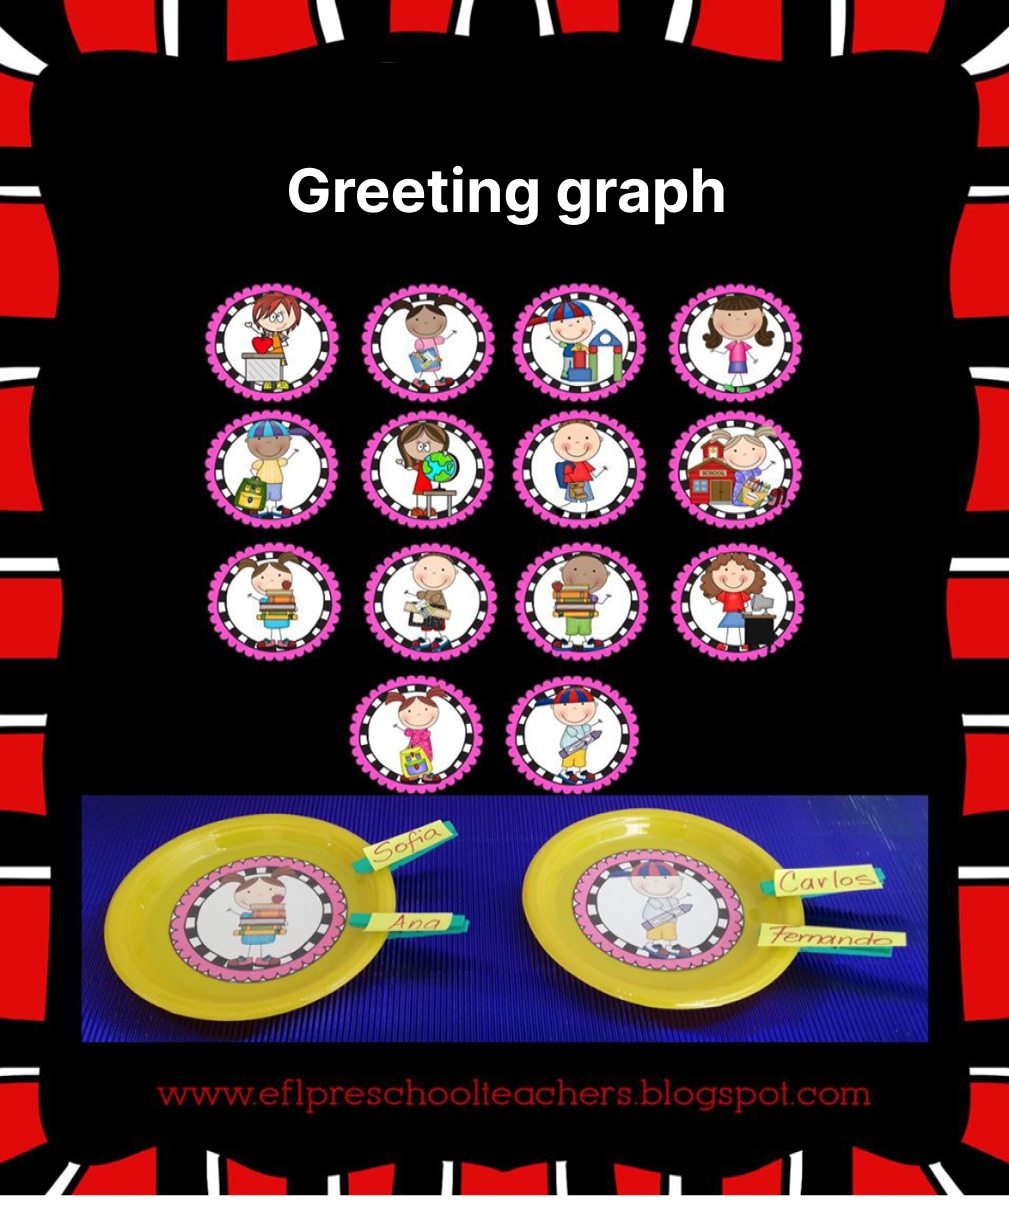
Greeting graph
20.05.2022

Big or Small?
Fun game: SEASONS
20.05.2022
Big or Small?
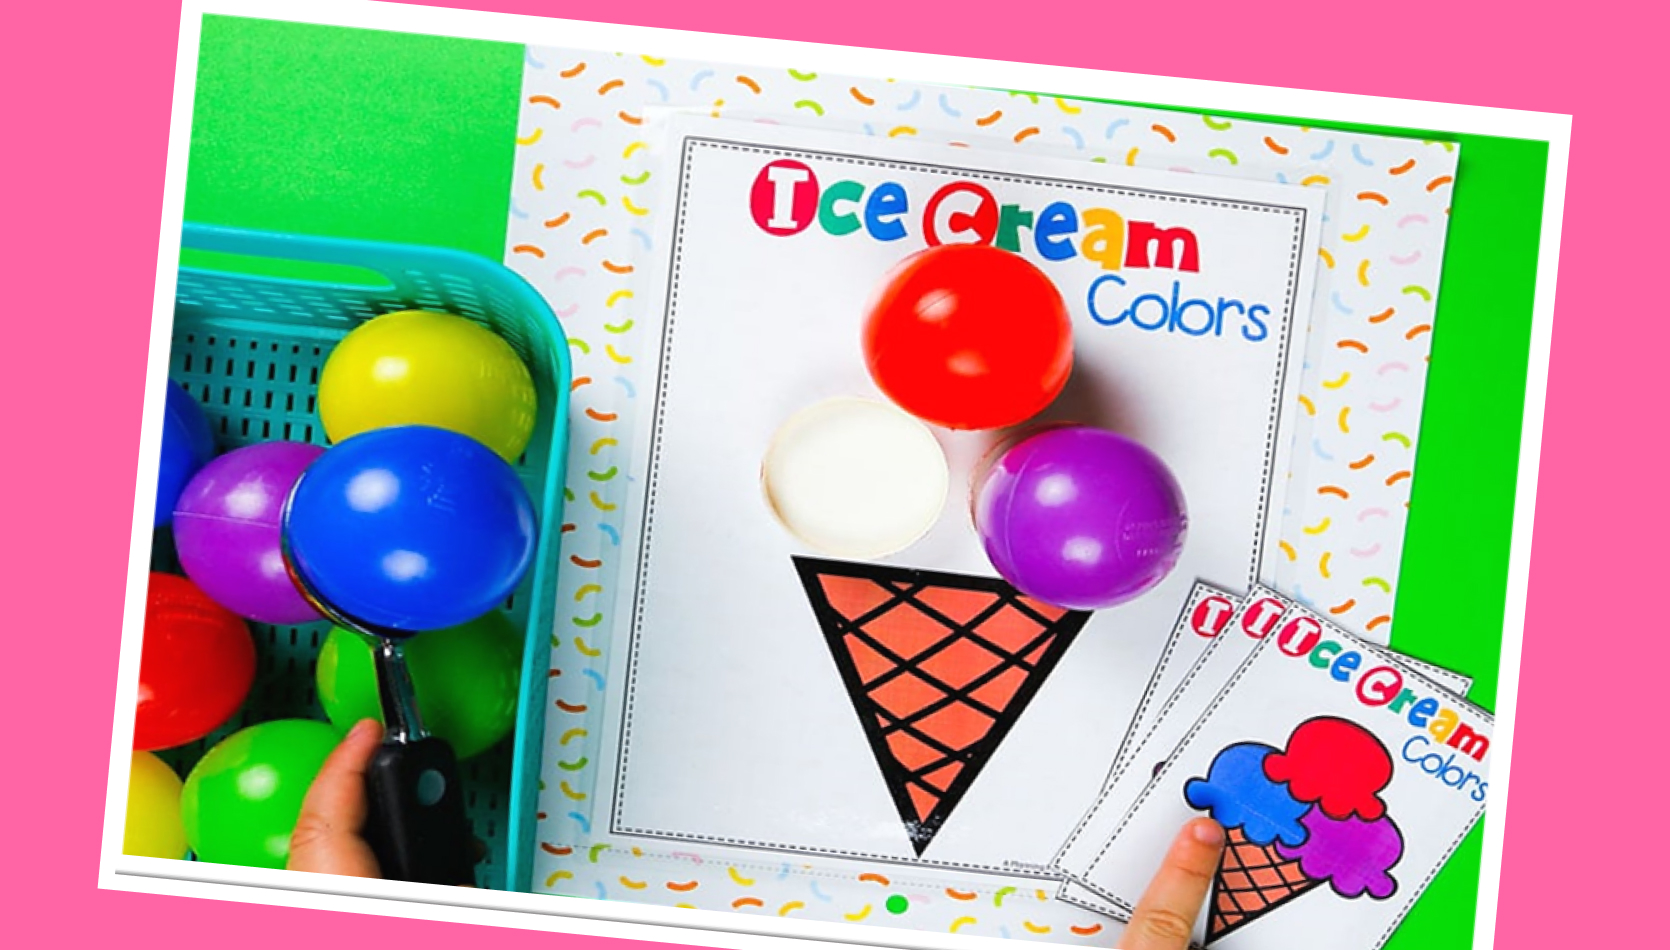
Fun game: ICE-CREAM
20.05.2022
Big or Small?
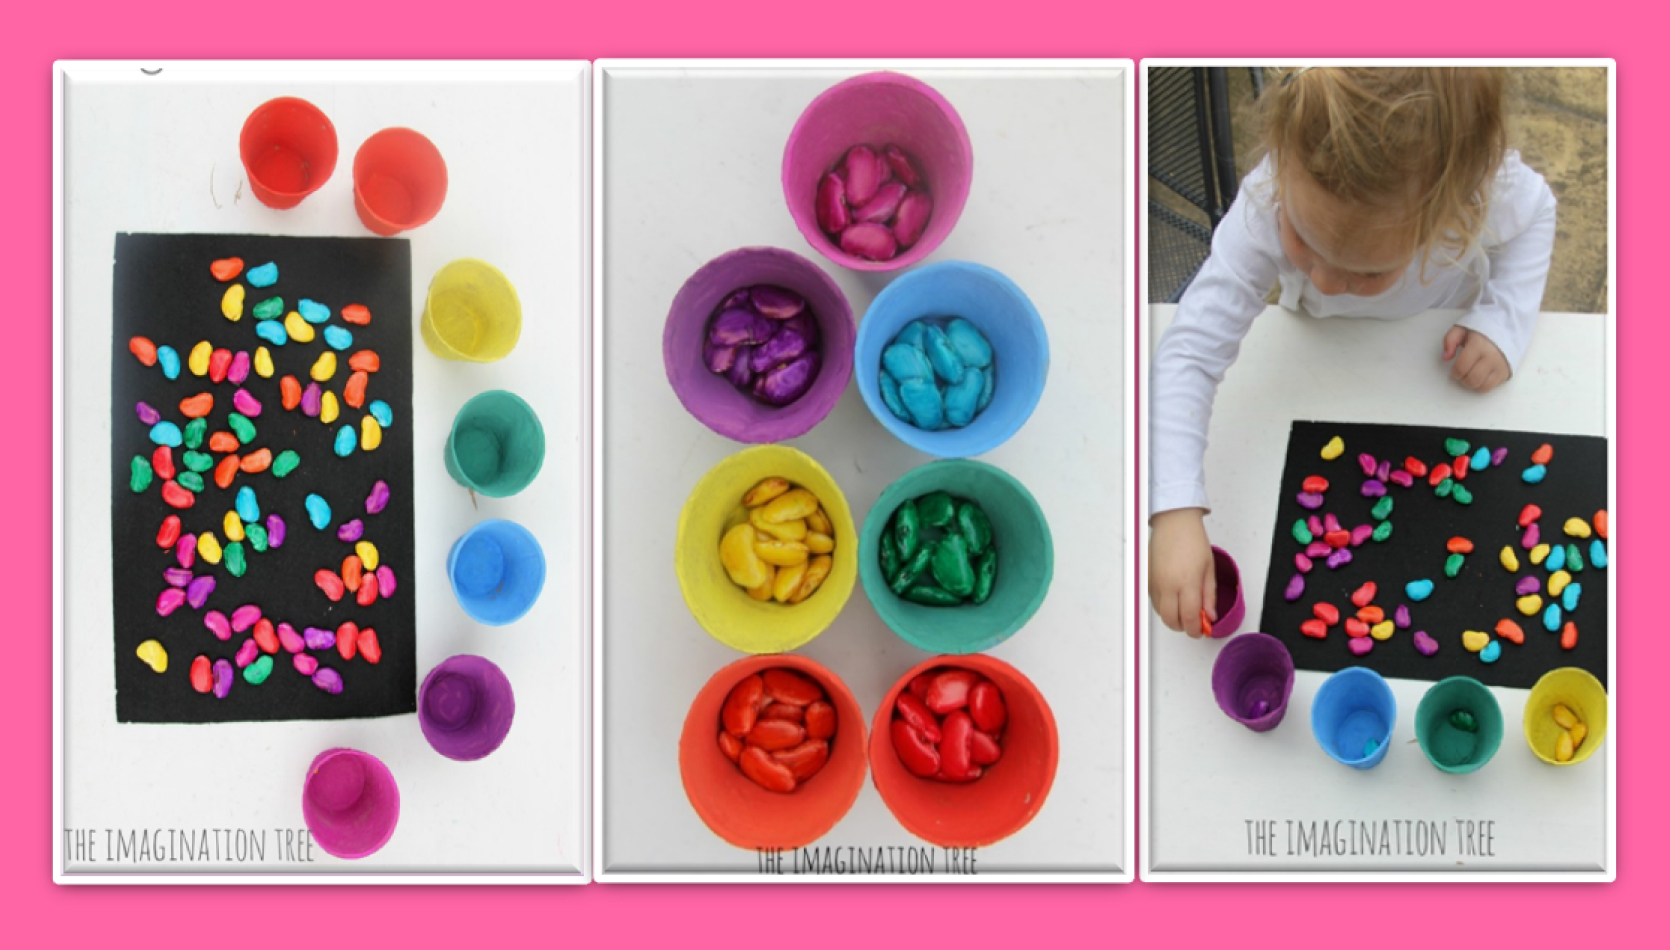
Fun game: SORTING BEANS
20.05.2022
Big or Small?
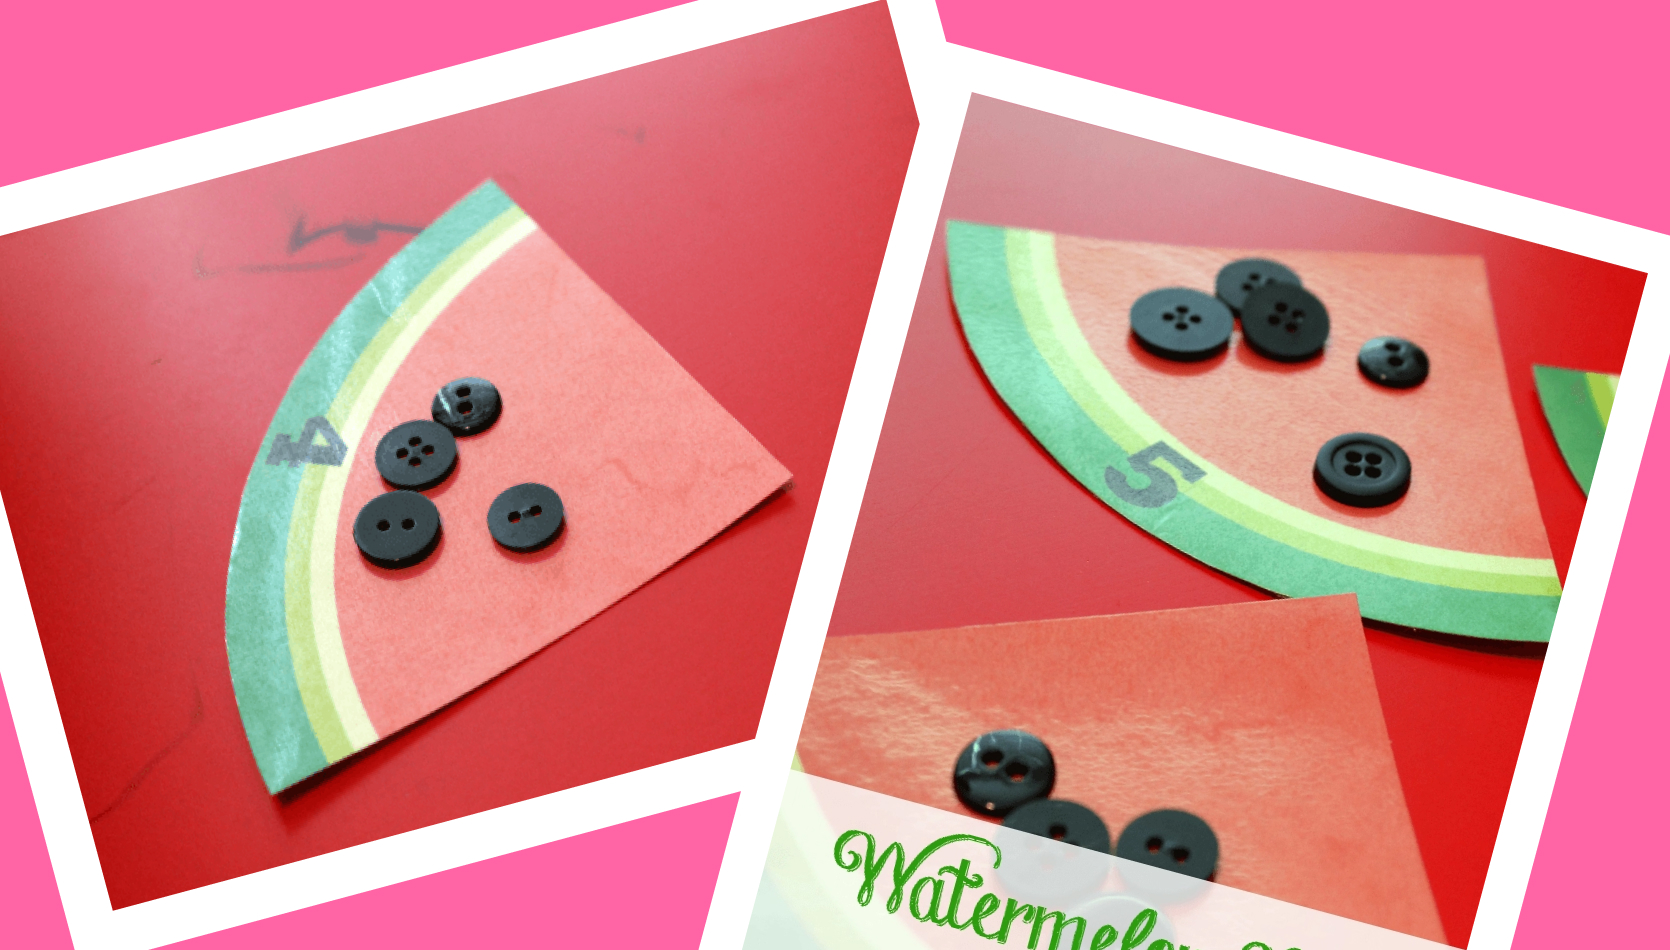
Fun game : COUNT WATERMELON SEEDS
20.05.2022
Big or Small?
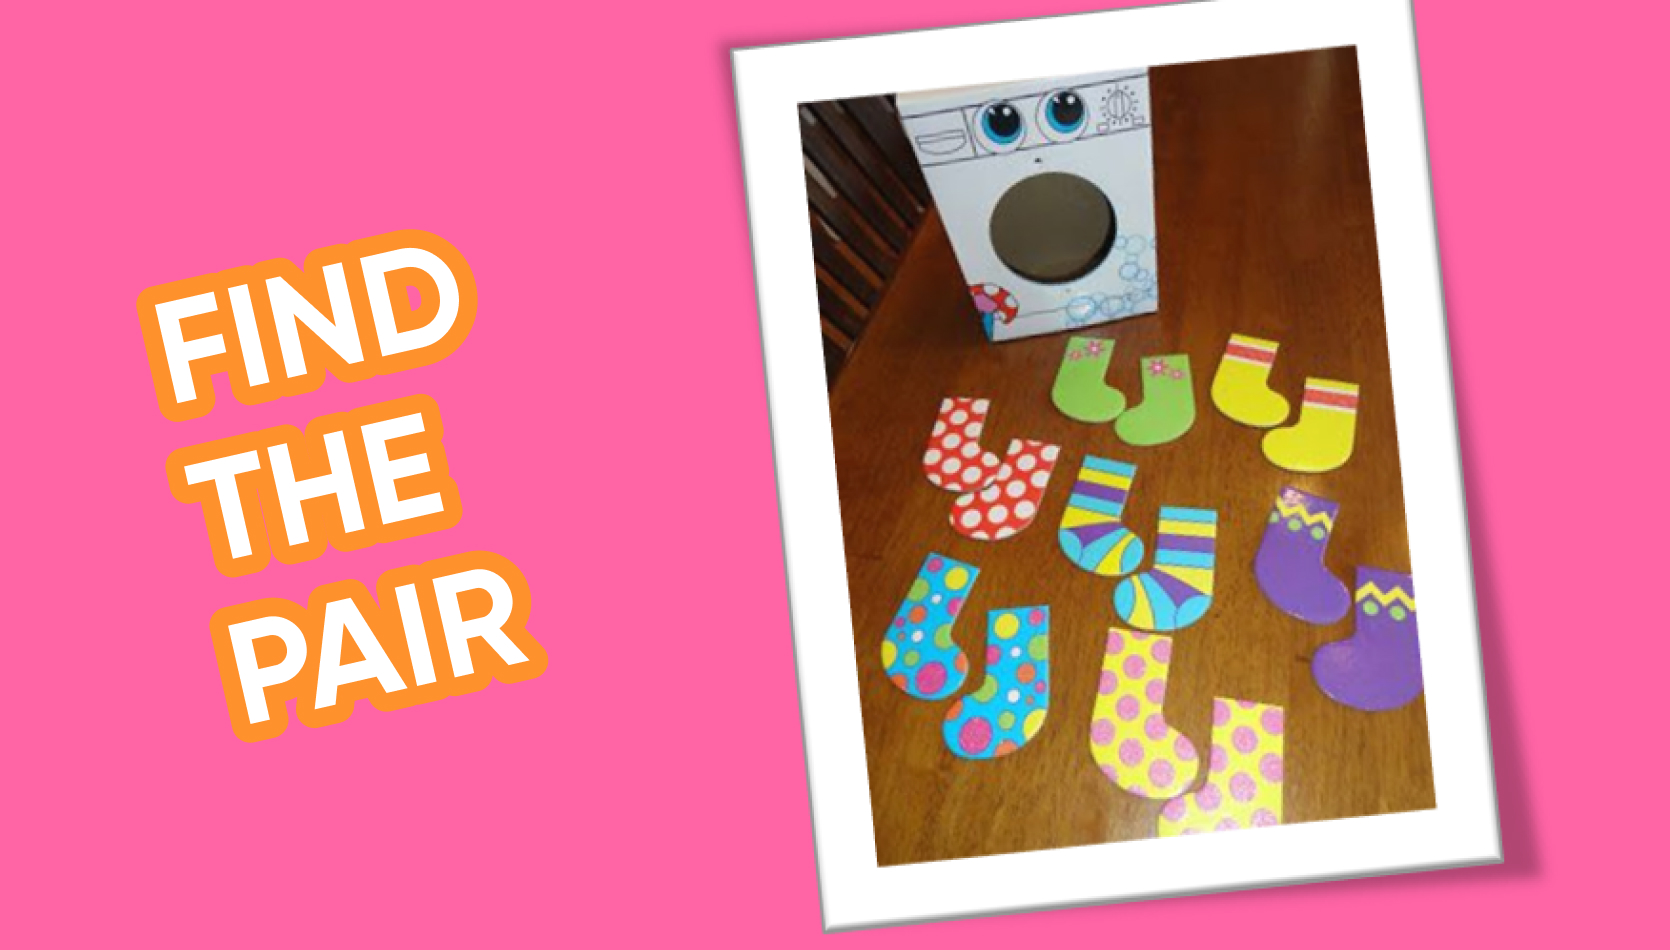
Fun game: FIND THE PAIR
20.05.2022

Big or Small?
Elephant saying “Hello” and “Good bye”
20.05.2022